So, let's talk about these tarts. I'm not sure how I can convince you to make them right away, other than by telling you, promising you, that they will be the best strawberry rhubarb tarts you will eat this summer.
Carrot cake is a quintessential dessert of spring. This recipe is moist slightly sweet, and perfectly spiced. It is paired with a rich and velvety cream cheese frosting.
Asparagus is so beautiful this time of year, so I wanted to create a recipe around it. I made some basil and pumpkin seed pesto, and drizzled it on toasted bread with asparagus, avocado, and shaved Parmesan.
Because his family is a true-to-the-bone pancake family, I really wanted him to share with me the secrets to making a good pancake, thin and delicate, perfectly browned on the outside, soft on the inside. He gave me a recipe, one that he has memorized. A set of very specific instructions, the right temp, the right amount of time for frying. I followed it to a tee, and sure enough, the pancakes came out the way I had always dreamed they would.
After Thanksgiving, I decided to experiment with my pumpkin pie recipe. I wanted to try and make it into mini tart form. I choose little gingersnap tart shells, because of gingersnap cookies, and tiny food, am I right? The tart crust came out soft and caramel, almost chewy. It was a perfect combination to the pumpkin filling.
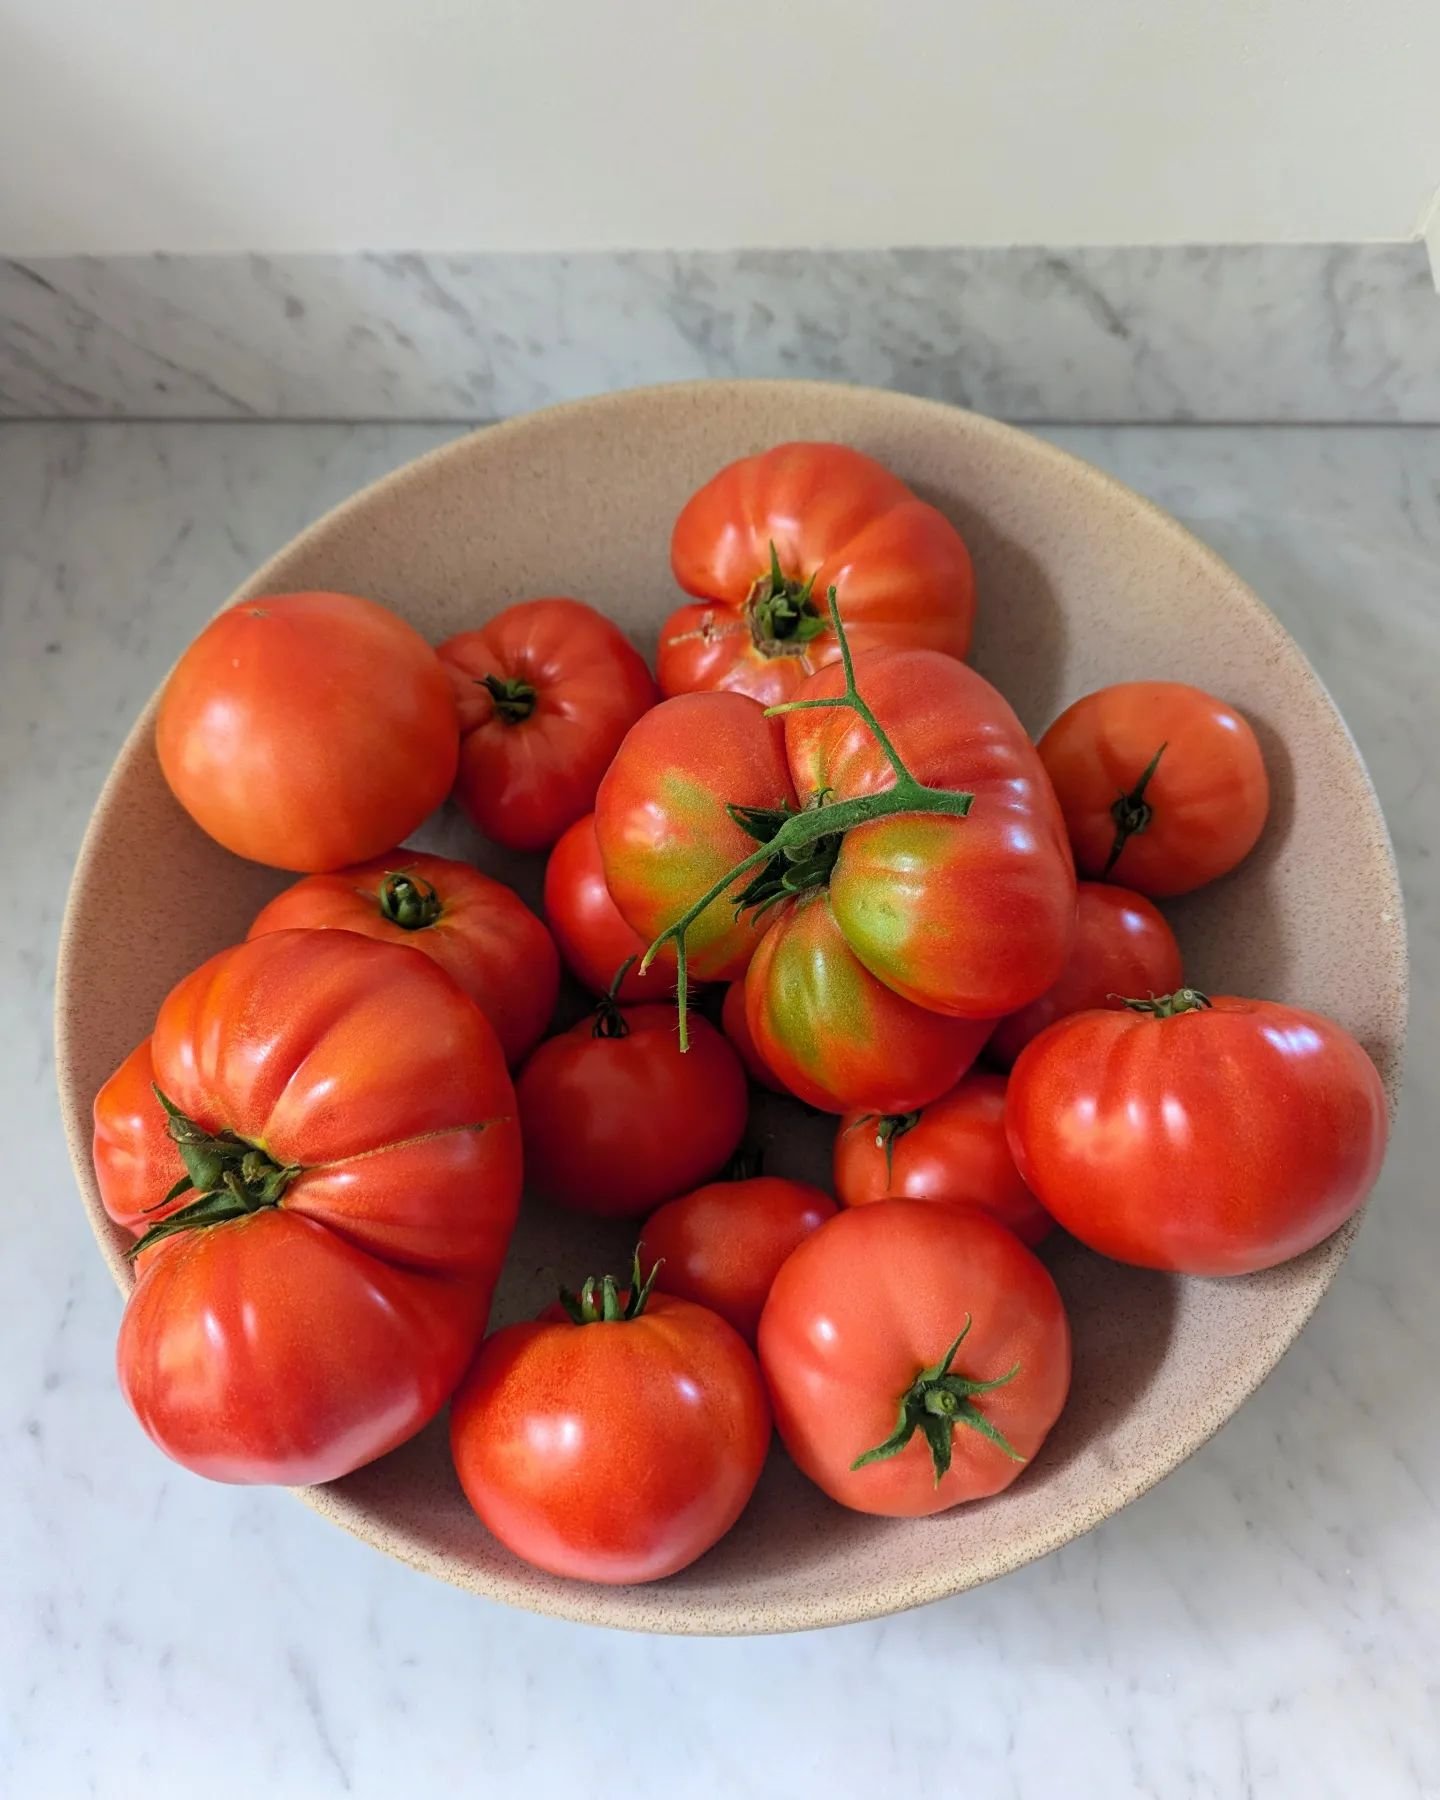
I’m here to share the story of how I fell in love with this tart crust, and the filling - you will see - comes second. You could even go ahead and sub out the tomatoes with mushrooms, olives, potatoes, apple, or tuna - options are always good, but I really encourage you to try this crust, because you might just fall in love like I did.

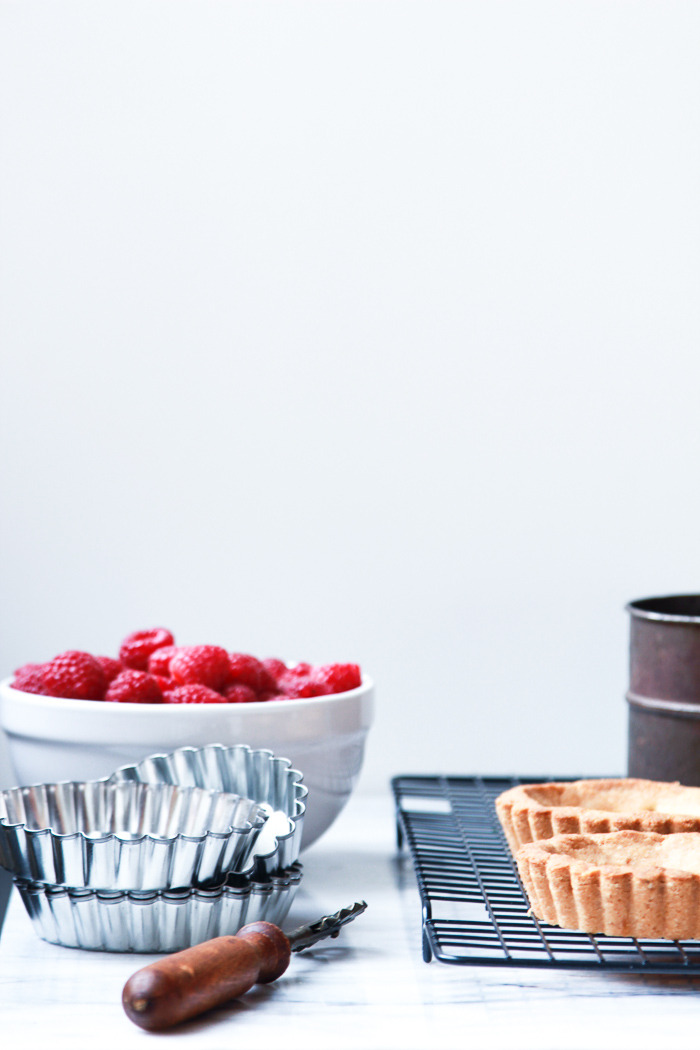
Oh my gosh. Raspberry tarts are so cute. and so French. I am preparing for a trip this summer. Paris, Prague, Budapest, Istanbul. It will be a whirlwind of sorts. I plan to eat as many pastries as possible and stuff as many copper pots into my suitcase as it can hold. I want to see the sites, drink German beer, eat a pretzel, meet some people, and become deeply inspired. Today I am feeling extremely excited by fresh raspberries, marble pastry boards, and tiny little pastry pans. I drove all over Seattle this morning looking for these cute little pans. First I started in Ballard, a neighborhood close too mine. It saddened me to see that one of my favorite kitchen stores had closed down. In a panic, I drove to the other end of the city to Williams-Sonoma - no luck. Crate and Barrel, also no luck. Finally, my last stop was Mrs. Cooks, and luckily they were well stocked. I was extremely thrilled.
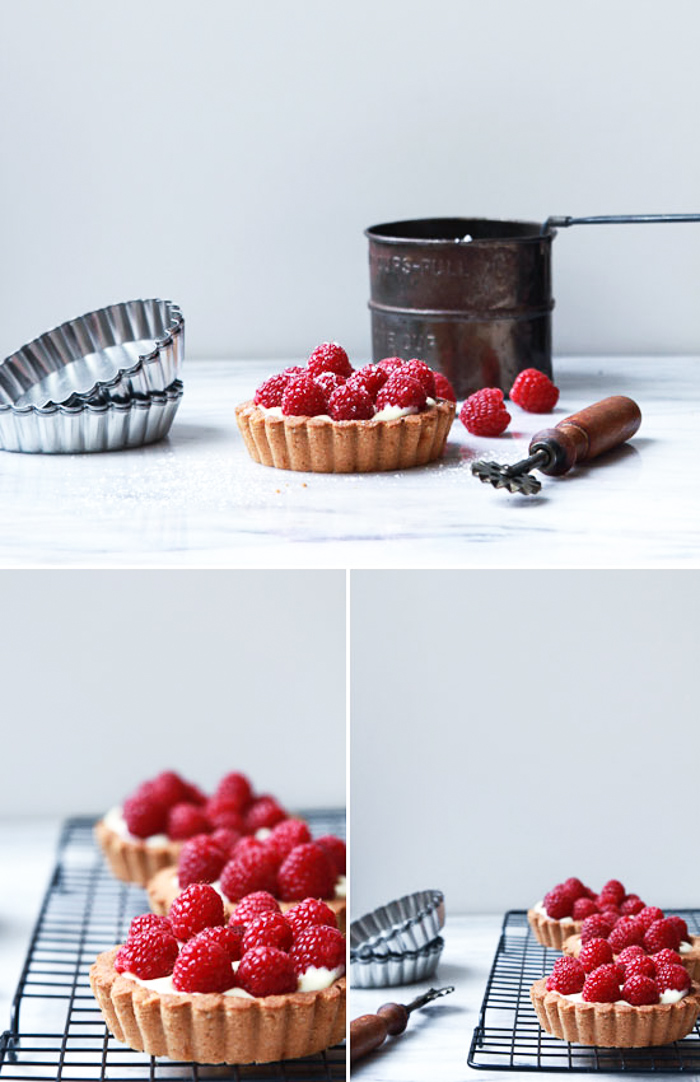
I've been meaning to make raspberry tarts for quite some time. My only limiting factor, a lack of tiny tart pans. I now have so many ideas. So many recipes flowing thought my head, all the amazing things that I can put in tarts! For this recipe, I choose to experiment with almond flour, because it's delicious and also I have a bag in my fridge that needs to be used. I adapted a recipe from
, an extremely delicious blog. The crust turned out soft and buttery. Slight sweet. The creme patisserie was rich and creamy. The vanilla beans added a beautiful aromatic taste. I love how the vanilla left tiny black flecks in the creme. The combination of buttery crust, thick cream, and fresh raspberries was delicious, and oh so extremely French.

RASPBERRY TARTS WITH ALMOND CRUST AND CREME PATISSIERE RECIPE
makes 4 small tarts
recipe adapted from
notes: pastry cream should be served immediately out of the fridge, or can be stored in the fridge for up to 3 days.
TART CRUST INGREDIENTS
2 cups almond flour
2 tbsp white granulated sugar
pinch of salt
1/4 cup butter, chilled and cubed
1 egg white
CREME PATISSIERE INGREDIENTS
1 vanilla bean, split
1 cup milk, 2% or whole
2 egg yolks
2 tbsp all purpose flour
1/4 cup superfine sugar
2 tbsp heavy cream
- small pint of raspberries, washed and dried
- icing sugar for dusting
Preheat the oven to 400ºF. Align four 5-inch tart pans on the counter.
In a food processor, add the almond flour, sugar, salt, butter, and egg white. Pulse until all ingredients are combined and start to stick together, resembling coarse meal.
Divide the mixture into 4 equal parts. Scoop the mixture into the tart shells, pressing down with your hands, and forming up the sides of the shell. You want to create an even layer around the sides, and then press flat on the bottom of the shell. Place the shells into the freezer for 10 minutes.
Place the tart shell directly onto the middle oven rack and bake for 15 - 20 minutes, or until the crust has turned light brown. Remove from the oven and let cool completely before removing from the shells.
Split the vanilla bean in half and remove the seeds. Add the seeds, along with the vanilla pod to the milk in a medium saucepan. Bring the milk to a simmer on low to medium heat stirring occasionally with a wooden spoon. Remove from the heat and let sit covered for 5 minutes. This will allow the vanilla to infuse the milk.
In a medium bowl add the egg yolks, flour, and sugar. Vigorously stir with a wire whisk until ingredients have become combined. Gradually add the milk mixture, and whisk until combined.
Add the mixture to a saucepan on medium heat. With a wire whisk, stir constantly until the mixture has thickened and started to boil. Remove from heat and strain with a fine sieve into a clean bowl. Cover the bowl with a piece of plastic wrap by placing it directly on top of the creme's surface. This will prevent a skin from forming on the tops. Refrigerate immediately.
Chill in the refrigerator until cool, one hour or more. Once chilled, remove and whisk in the heavy cream just before serving.
Remove the almond crust from their shells. Fill each tart 3/4 full with the creme. Gently place the raspberries on top with the stem side facing down. Sprinkle with powdered sugar.